Introduction
This tutorial walks you through using Spring Boot and FormKiQ Stacks API to easily accept file uploads from a user, display uploaded files and to download the files again.
What You Need for this Tutorial
- About 30 minutes
- A favorite text editor or IDE
- A FormKiQ Document Stack Sandbox Account (we will sign up as Step One, below)
- JDK 11 or later
- Gradle 4 or later
Note: The full Source Code for this Tutorial is available on GitHub
Step 1: Set Up a FormKiQ Document Stack Sandbox Account
By default the FormKiQ Demo environment is READONLY. Since this tutorial requires reading / writing files, you will need to set up a Sandbox Account:
- Sign Up for FormKiQ Sandbox Account. You will receive an email with your temporary password.
- Set your new password by visiting the FormKiQ Stacks Console. Once you have logged in with the username and password from the email you received, you will be asked to create a new password.
This will be the username and password you will need to complete this tutorial.
Note: Your Sandbox Account will be active for seven days; after that time it will be disabled. (Your email address will not be used for any contact lists or marketing.)
Step 2: Create a Spring Boot Project
We will create the tutorial project using Spring Initializr. This the fastest way to start a Spring Boot project. By filling in a few project parameters, it will generate a zip file containing a project that is ready to use.

Use the following configuration options:
- Project: Gradle Project
- Language: Java
- Spring Boot: 2.3.4
- Project Metadata:
- Group: com.formkiq.tutorials
- Artifact: fileupload
- Name: fileupload
- Description: Demo project for Spring Boot and FormKiQ Stacks
- Package Name: com.formkiq.tutorials.fileupload
- Packaging: Jar
- Java: 11
Click the Add Dependencies button and add Spring Web and Thymeleaf.
Once all configuration options have been chosen and the two dependencies have been added, click the Generate button, then download the ZIP file and unzip it into a new project directory.
Additional Dependencies
We require 2 additional dependencies to be added to the project. Open the file ./build.gradle (located in the root of the project directory), and add the following:
The software.amazon.awssdk:cognitoidentityprovider library is Amazon's offical library for interacting with Amazon Cognito, which FormKiQ Stacks uses for authentication. We will be using this library to authenticate with Cognito and to generate the Authentication Tokens we will need.
The com.formkiq.stacks:client:1.1 library is the official FormKiQ Client Library. This library makes interacting with the FormKiQ Stacks API a snap!
Application Class
When you ran the Spring Initializr, it automatically created the class com.formkiq.tutorials.fileupload.FileuploadApplication. This class is annotated with @SpringBootApplication.
This is a Spring Boot annotation that indicates the application's entry point, so running this class will start the application.
Step 3: Add the FormKiQ API Client and Cognito Authentication
FormKiqClientBuilder Class
In order to interact with the FormKiQ Stacks API, we will need to authenticate with Cognito and instantiate the com.formkiq.stacks.client.FormKiqClientV1 class using the Cognito authentication token.
Create com.formkiq.tutorials.fileupload.FormKiqClientBuilder.java:
How It Works
The first step in the FormKiQClientBuilder is to authenticate with Cognito and retrieve the Cognito Authentication idToken. This is all done in the loginToCognito method. In order to authenticate with Cognito, we need to know the Cognito ClientId.
For the FormKiQ Stacks Demo and Sandbox Account, this value is
4b9bl9mkvbhpn0g0mjpj0hnhb7,
but if you have FormKiQ installed in your own AWS Private Cloud, you can find this value by looking in the
AWS Parameter Store Console
under the
/formkiq/
By using a valid Cognito ClientId, Username and Password, Cognito will return an IdToken that can be used to authenticate ourselves withe FormKiQ Stacks API.
The next step is to get the FormKiQ Stacks API URL. For the FormKiQ Stacks Demo account this URL is
https://api-demo.tryformkiq.com/.
You can find this value in your FormKiQ Stacks installation by looking in the
AWS Parameter Store Console
under the /formkiq/
Using the Cognito IdToken and FormKiQ Stacks API URL, we can create an instance of com.formkiq.stacks.client.FormKiqClientConnection and using that create an instance of com.formkiq.stacks.client.FormKiqClientV1 instance.
The FormKiqClientV1 instance will be used in the FileuploadController to interact with the FormKiQ Stacks API.
Step 4: Add the File Uploader
FileuploadController
Create com.formkiq.tutorials.fileupload.FileuploadController.java. Make sure you replace REPLACE_WITH_SANDBOX_EMAIL and REPLACE_WITH_SANDBOX_PASSWORD with your Sandbox Account you created (or for private cloud, your installed FormKiQ Stacks parameters).
How It Works
FileuploadController has 3 methods:
- listUploadedFiles - lists uploaded files by user
- serveFile - downloads the uploaded file
- handleFileUpload - uploads the File to FormKiQ Stacks
The listUploadedFiles method uses the FormKiqClient's getDocuments() method to retrieve all documents that have been uploaded for a particular date. It is important to specify your Timezone in this request, otherwise, the default Timezone of UTC will be used.
The serveFile method uses the FormKiqClient's getDocumentContentUrl() method to retrieve the contents of a document. The URL returned has temporary access to the file; you can specify how long this URL is valid for but it defaults to one hour.
The handleFileUpload method uses the FormKiqClient's getDocumentUpload() method to retrieve an Amazon CloudFront URL that the contents of the MultipartFile upload can be sent to. The URL provided only accepts the "PUT" request method.
File Upload HTML Template
The following uses a Thymeleaf template (from src/main/resources/templates/uploadForm.html) to provide a File Input for uploading of files, and will display which files have been uploaded and provide a link to download them:
Step 5: Run the Application
In order to run the application using gradle we need to tell gradle that it needs to run the com.formkiq.tutorials.fileupload.FileuploadApplication.main(String[] args). Edit build.gradle and add the following:
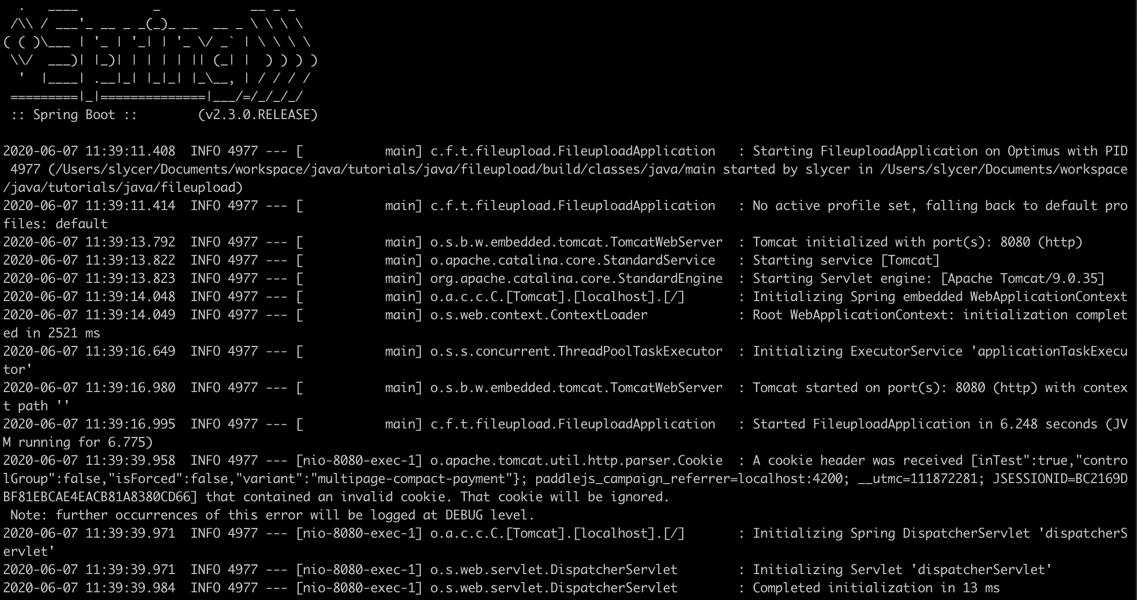
Now when you run the below command you should see the following output:
Along with a several output entries from Spring Boot.
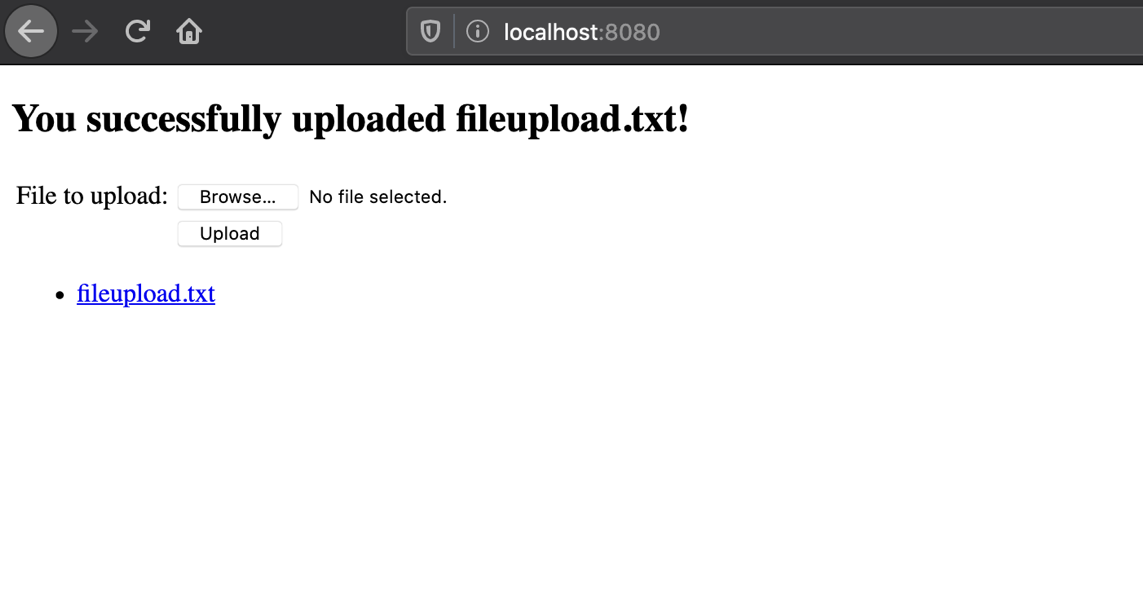
Open your browser and visit http://localhost:8080 and you should see the upload form.
When you upload a file you should see the message:
You successfully uploaded
Summary
Congratulations! You have completed the FileUpload Tutorial and have learned how to build a Spring Boot application that uses the FormKiQ Stacks API to upload, store, and distribute files.